
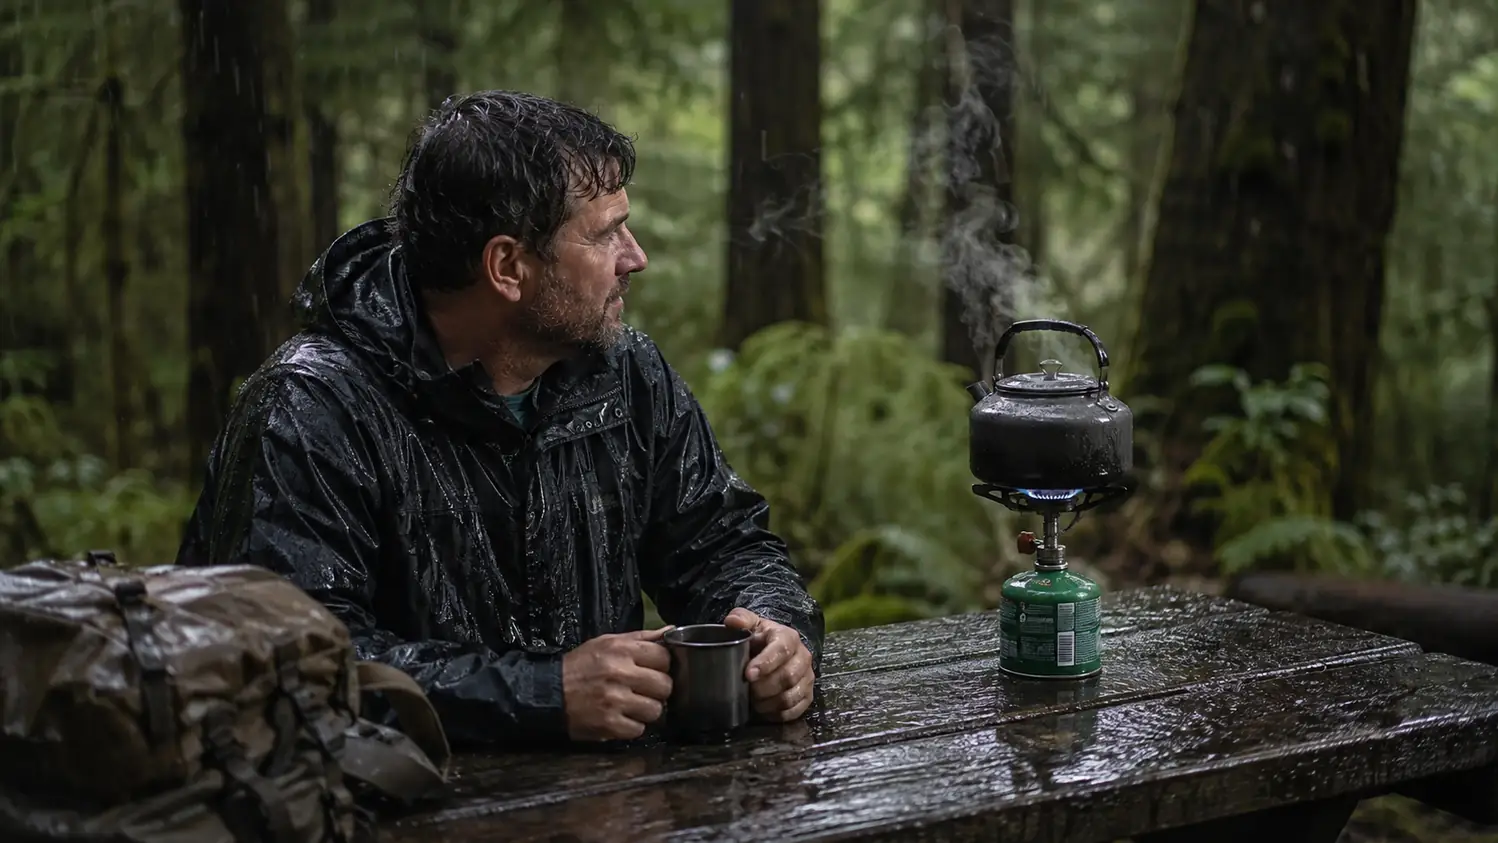
A campfire is a lovely place to sit and a rotten way to cook dinner in the Pacific Northwest. I've spent too many evenings staring at wet wood spitting smoke, waiting out a drizzle that never quit, while the two-person cook kit sat cold in the tent. Every one of those nights ended the same way, with a sandwich eaten in the dark and the bitter knowledge that the one thing I came out for, a hot meal after a long day, was the one thing I couldn't manage.
The fix was never a bigger fire or a cleverer fire starter. It was a propane stove. A threaded canister, a burner you can control, hot food in ten minutes no matter what the sky does. I've cooked on a Coleman BottleTop for years now, across rainy campouts, cold tailgate mornings, and a lot of half-frozen fishing trips on the coast, and it has never once let the weather decide whether I eat well. If you've been leaning on campfires and skipping meals, or burning everything on a single-setting cheap burner, this is the order I do things in to get real food on the table.
The stove that made camp dinner possible again
You can run this whole system on a dependable burner you'll still own next season. The Coleman BottleTop is the stove I thread onto a canister for every rainy campout and coast trip, because it starts easy, gives you a real flame to cook with, and doesn't leave you eating your dinner cold.
Amazon Check Today's Price on Amazon →Step 1: Set Up on a Stable, Level Spot, Away From the Tent
Read the setup twice before you ever light it, because almost every camp cooking disaster starts with placement, not the flame. You want the stove on a stable, level surface where it cannot tip, spread out in the open, and a safe distance from the tent, your sleeping gear, and low-hanging branches. Northwest campsites are muddy and slanted by default, so bring something to sit the stove on. A flat rock, the tailgate of the truck, an overturned milk crate, anything wide and steady beats trusting balance on wet ground.
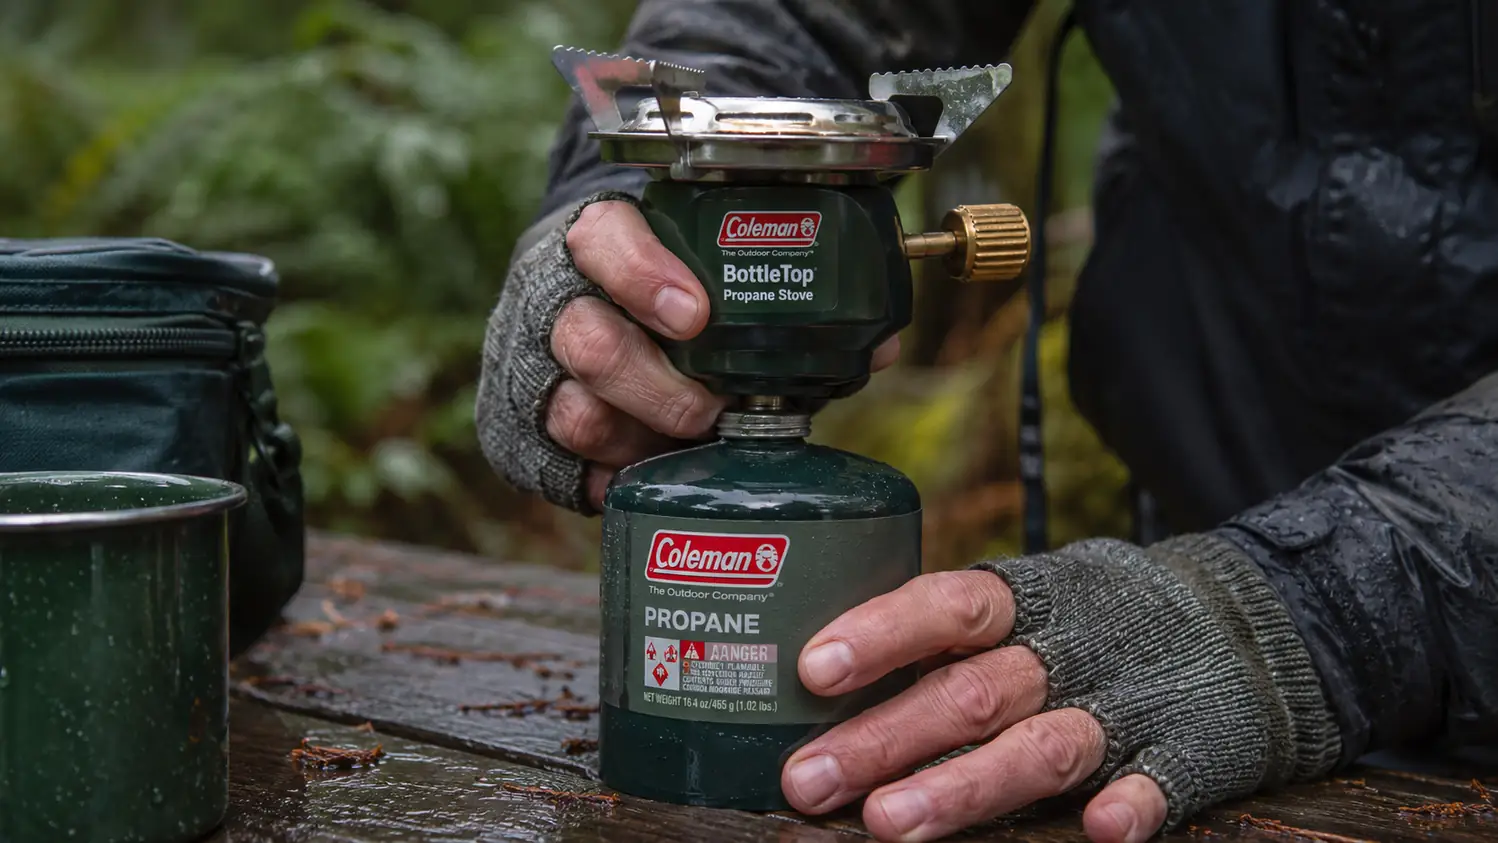
On the BottleTop, threading the stove onto the canister is the first skill. The bottle screws onto the threaded top of a standard green propane canister, hand tight, then you turn the canister upside down so the stove sits on the special feet and the fuel feeds right side up. Get that inverted sequence right and you avoid a stove that flames weakly or a canister that fights you. Let the weather decide the rest. If the drizzle has any say, cook in a sheltered spot or rig a simple wind screen, but leave airflow around the burner and never, ever cook inside the vestibule or the tent. That rule is not negotiable.
Take the two seconds to get the setup boringly right, because the whole reward of a propane stove is that dinner no longer depends on the weather. Do it once, methodically, and you'll do it the same untroubled way every trip after.
Step 2: Learn Your Flame Before You Trust It
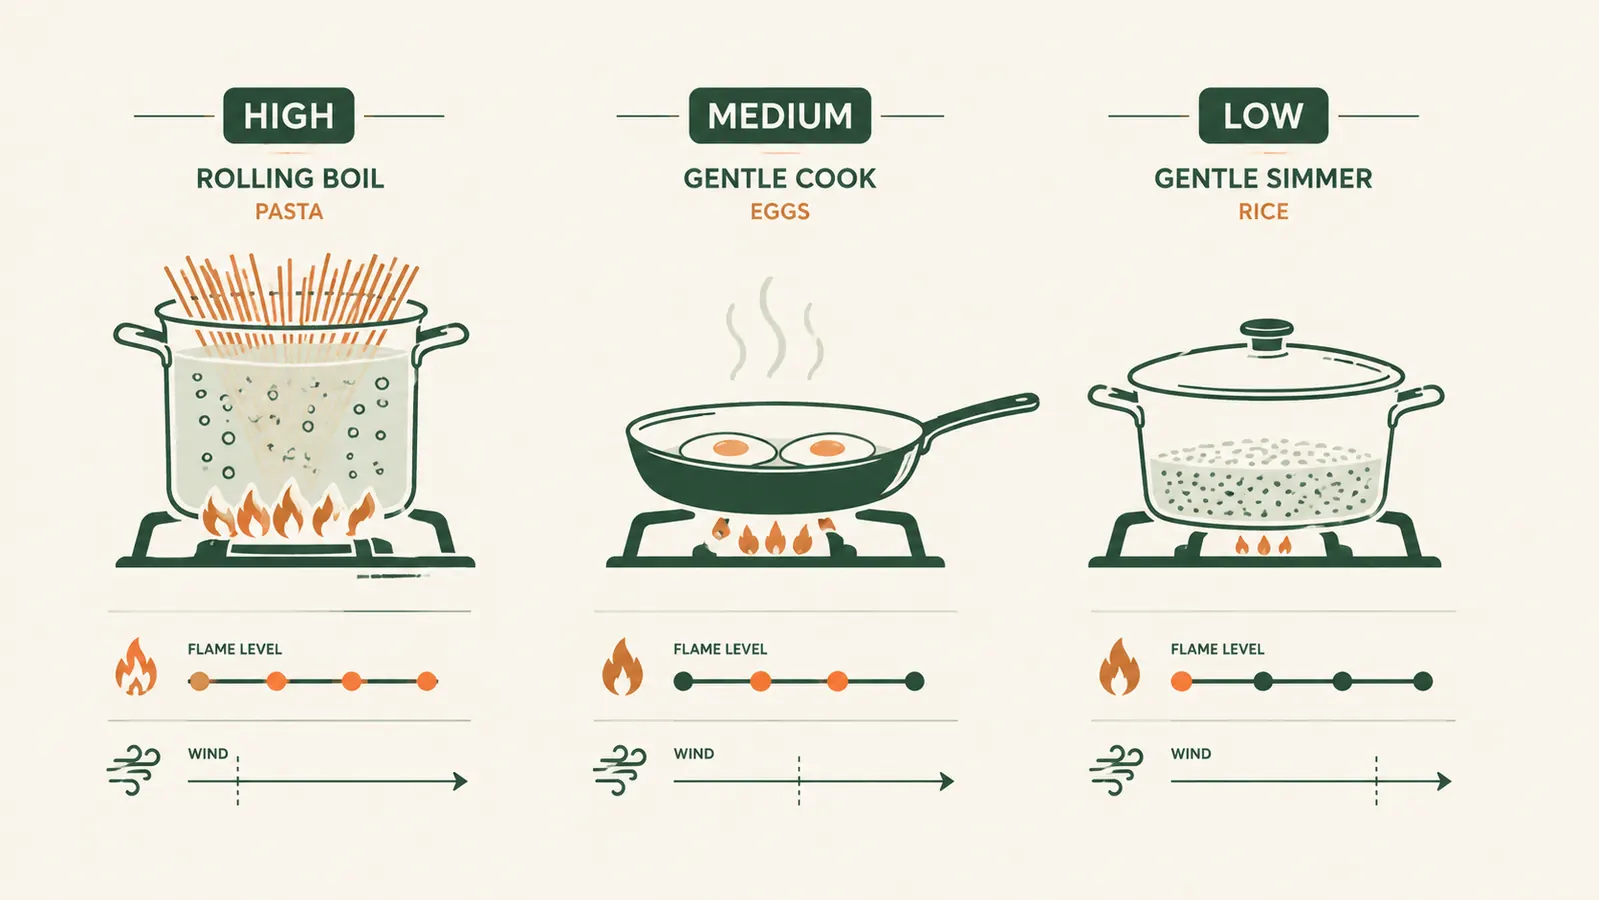
A camp stove is not your kitchen range, and treating it like one is how you eat burnt rice and singe your eyebrows over a too-high flame. Before you put a single pot on, spend one cold morning learning what the knob actually does. Light it, then turn it from low to high and back, and watch how the flame rises and falls. That two minutes of attention buys you a season of predictable cooking.
The BottleTop gives you a real adjustment range, which is the whole reason I use it instead of a no-name single burner. High pushes out a solid flame that boils a pot of water faster than a lot of stoves twice its size. Low settles into a gentle simmer that will cook rice or a sauce without scorching the bottom of the pot. Most cheap burners give you two settings, inferno and barely lit, and both of those are wrong for almost everything. Knowing yours has a middle is the difference between one-pot meals that come out right and a pot you scrape out with a spoon.
Wind is the silent enemy of every propane stove, and in the PNW it's the default setting. A gust can knock your boil down to a lazy bubble or flicker the flame right out. Keep the stove low to the ground, turn the canister and burner so the biggest gusts hit the back of the knob rather than the flame, and use a windshield when the evening picks up. If the flame does blow out, turn the knob to off and give it a few seconds before relighting, so the unburned gas clears. Letting it sit those few extra beats is far cheaper than the alternative.
Step 3: Get the Water ON Early, Hot and Covered
The single fastest way to feel rich on a cold, damp campout is a pot of boiling water you didn't have to fight for. So the first thing I do when the stove lights is throw on a full pot of water, even before I decide what's for dinner. That water is the first cup of coffee in the morning, the rehydrating liquid for the dehydrated meal, the pasta water at night. Having it already hot saves you a second, slower boil every single time.
Use a pot with a lid and put the lid on. It sounds like nothing, but an uncovered pot bleeds heat into the cold air and drags your boil out by minutes. A lid is free fuel efficiency. Fill it not quite to the top, so a rolling boil doesn't splash over and drown your flame, and leave yourself a little headroom. If you're in a hurry and the evening is cold, start with a bit less water, because cold PNW air is exceptionally good at stealing heat from a bare aluminum pot.
While it comes up to heat is the second where I prep everything else. Chop the vegetables, open the packages, get the utensils laid out. The stove does the slow work, so do the fast work beside it. The stove's job is to make heat while you make dinner, and the moment you start treating those as one job instead of two, camp cooking stops feeling like a chore.
Step 4: Bring the Right Pot and a Lid That Fits
A propane stove only cooks as well as the pot you put on it, and a lot of camp cooking goes sideways right here. A thin pot on high heat scorches. A pot too small for your biggest meal boils over and puts out the flame. A pot that wobbles on the burner is a burn waiting to happen. Take a minute to set up a rig that actually fits your stove, because the stove is only half the tool.
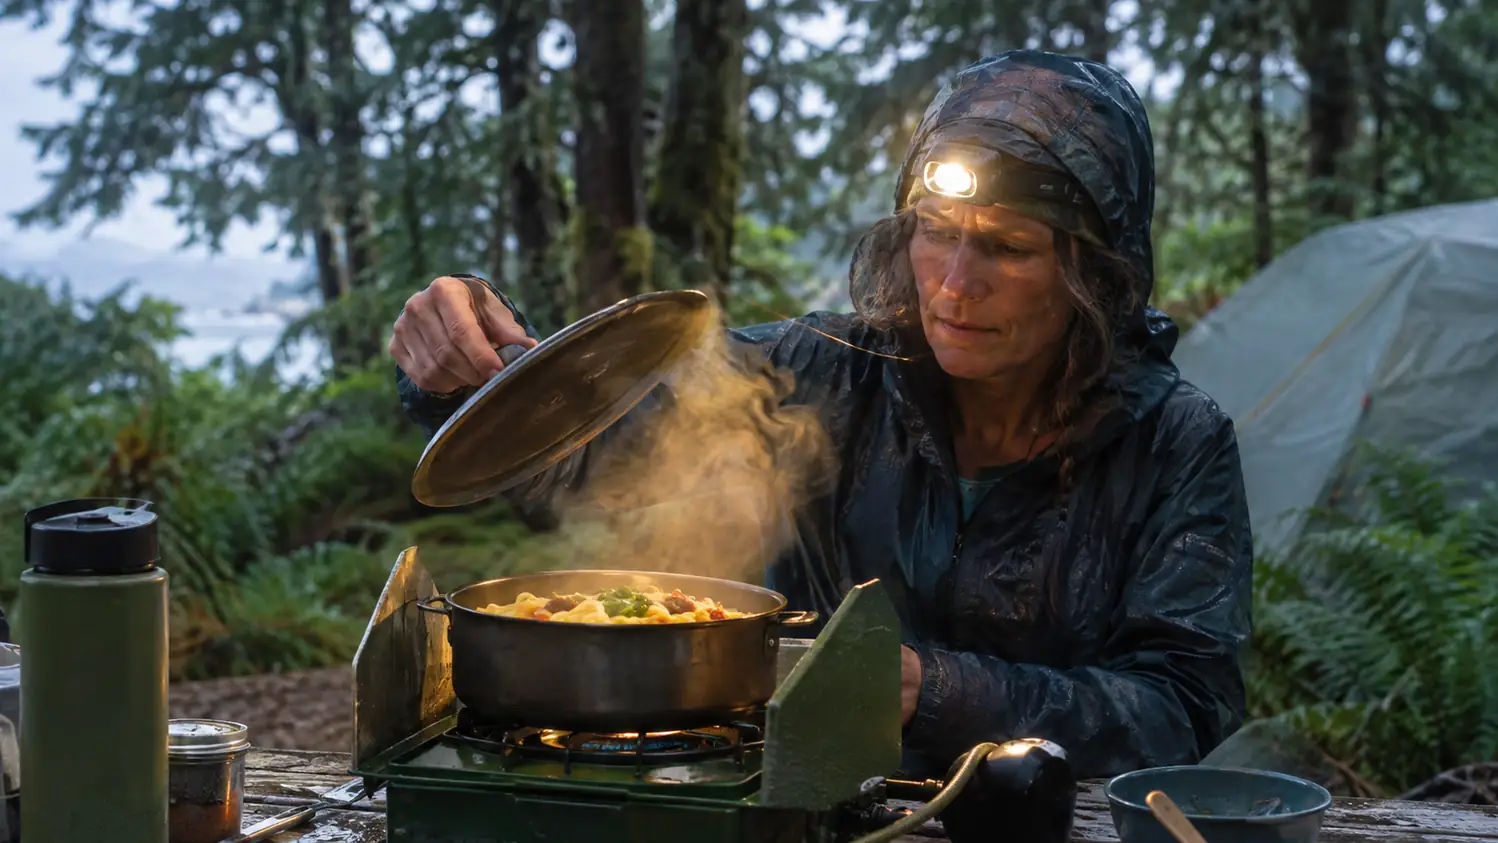
For a propane stove cooking a full meal, I want a sturdier pot than the ultralight backpacking pan. A medium pot with a tight-fitting lid, plus one smaller pan for the second job, covers almost everything from a solo freeze-dried dinner to feeding two hikers a real pasta dish. The lid matters more than people give it credit. A pot without a matching lid can't trap the heat that turns a boil from a long wait into a quick one. If your lid rattles or doesn't seat, find one that does.
Two small extras make cleaning a joy instead of a sinkless misery. A long-handled utensil keeps your knuckles off a hot pot rim, and a light non-stick surface or a wipe of oil before cooking keeps the worst of the dinner from welding itself to the bottom. The BottleTop stands up to a well-chosen pot and a bit of attention, and I've left mine burning gently under a heavy pot for years without a complaint. Watch the first few minutes of any new meal, lower the heat before it reaches full boil, and you'll end the trip with a pot that rinses clean with a splash of lake water.
Step 5: Cook One Real Meal, Not Four Snacks
The trap of camp cooking is thinking you need to pull off a four-course production to justify the stove. You don't. The meals that actually get eaten out here are the ones that come together in one pot with minimal fuss, and a propane stove is built for exactly that. My dependable dinner is a one-pot pasta with whatever protein and veg I brought, cooked in the same water the noodles boil in. The sauce folds in at the end, the heat drops to a simmer, and dinner is done in less time than it takes to argue about who's on dishes.
Mornings are even simpler. Coffee boils in the same pot I'll use for oatmeal or eggs, and a canister stove fires up in the dark without a penknife and a prayer the way a fire starter does. If you're cooking for a group, cook one big thing rather than fussing with multiple burners you don't have. A big pot of soup, a skillet of fried eggs, a kettle of coffee, all better than three half-cooked smaller dishes running on a single flame.
The payoff of learning this is real. Hard rain, wet wood, a howling evening on the coast, and you still sit down to something hot and genuinely good instead of a cold sandwich in the dark. That trade, dependable hot meals in return for a little setup and five steps, is the one that made the propane stove a permanent part of my camp kit. If you want the deeper case for why it beats campfire cooking all season, this is where I compare it head to head.
What Else Helps
A few extra things make the whole system run smoother than the steps alone. Carry one spare propane canister even on a short trip, because running out of fuel at the worst possible moment is the one failure that no amount of technique fixes. Check the canister before you leave and bring the empties home to dispose of properly. A small dish-washing basin or a washcloth and a bit of biodegradable soap handle cleanup without a sink, and doing it right after dinner beats a crusty pot at next morning's coffee every time.
Store the stove and canister apart when you pack, keep the burner dry, and give the threads a wipe before each threading so the seal stays clean. A stove kept dry and clean is a stove that starts first try next season. And if this is your first real stove or you're choosing between the BottleTop and a rival burner, my between-them comparison lays out the trade-offs in power, wind handling, and value so you pick the right one the first time.
A campfire is lovely for sitting by. For cooking dinner in a Pacific Northwest drizzle, give me a canister, a knob, and one decent pot, and I'll have hot food on the table in the time it takes wet wood to make smoke.
The dependable burner behind every meal in this guide
Every step here assumes one thing, a stove you can trust to start and hold a real flame. The Coleman BottleTop has been that stove for me across rainy campouts, cold coast mornings, and a lot of cold dinners rendered warm. A threaded canister, a controllable burner, and years of hot meals in the open air.
Amazon Check Today's Price on Amazon →